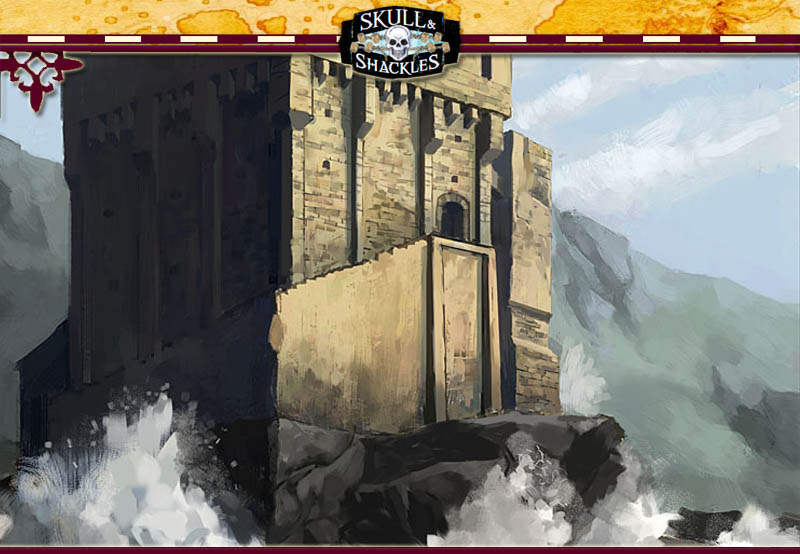
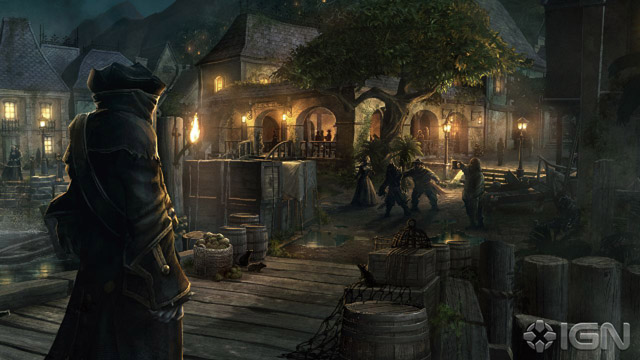
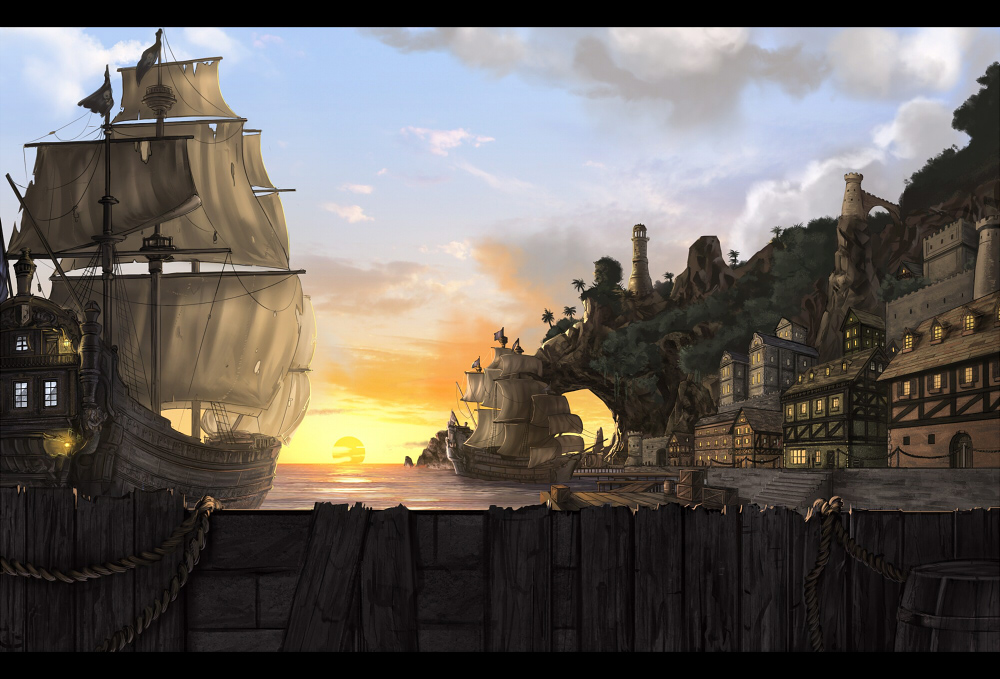
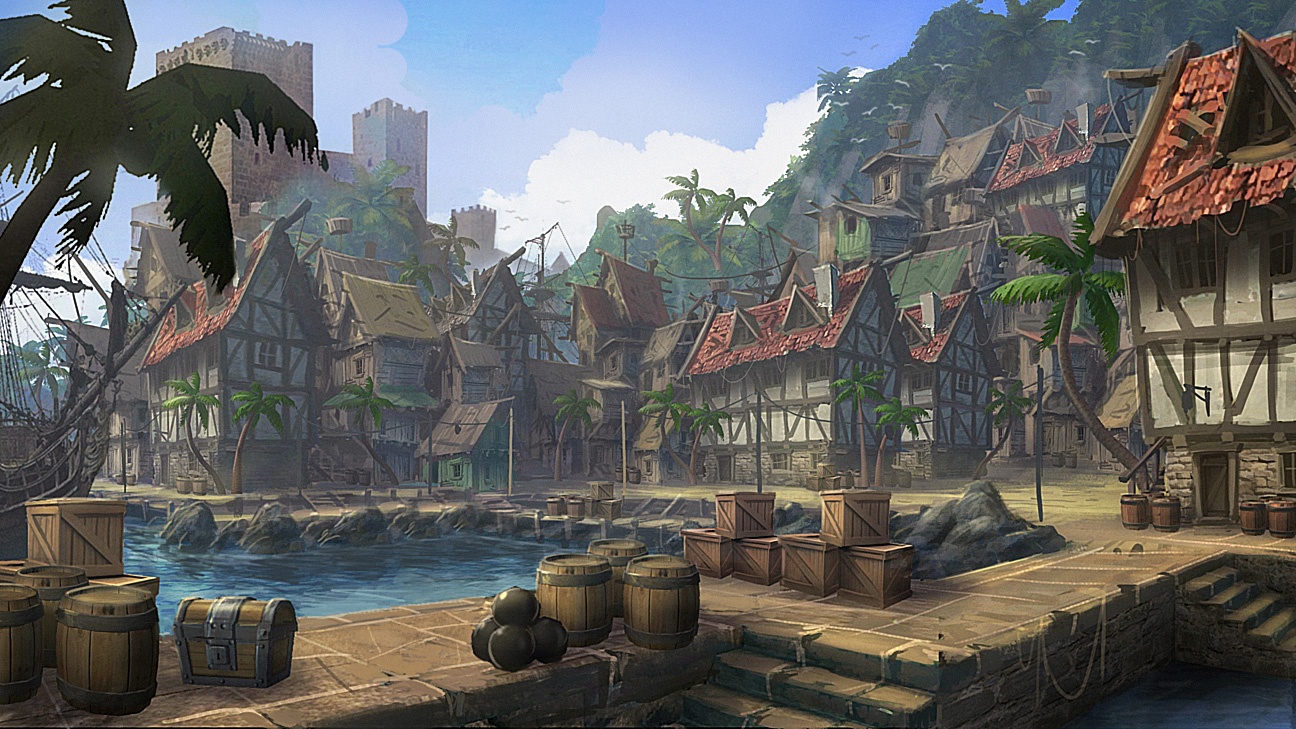
Port Peril is the largest port in the Shackles and its de facto capital. It is situated on the mainland, rather than on one of the outlying islands, on the edge of the Terwa Uplands and overlooking Jeopardy Bay. The city is protected by walls, and the stronghold of Fort Hazard. All manner of vices can be found in its twisting streets, and its busy markets thrive on the sale of stolen goods. Rumour has it that the plunder from decades of piracy is hidden in sea caves beneath the city.[1]
Despite being the capital of the Shackles Pirates, merchant ships sometimes dock here to trade. Those flying the flags of Inner Sea nations are not welcome, but unaligned vessels are permitted to dock.[2]
The city is ruled by Kerdak Bonefist, lord of the Shackles Pirates. During his frequent absences, the affairs of the city are jointly overseen by Sabas Odabio, harbormaster Tsojmin Kreidoros and master merchant Pherias Jakar.[2]
Though a pirate city is difficult to neatly compartmentalize, there are certain areas of the city of Port Peril that might classify as city districts:[3]
Beggarbriar, Crescent Harbor, Eastwind: High Eastwind & Low Eastwind, The Knotworks, Lucrehold, Merchant Marina, Scrimshaw
The harbor is deep enough to accommodate even the largest and most heavily laden of vessels. Visitors to Port Peril are required to dock at the Crescent Harbor, which is overseen by surly harbor-master Tsojmin Kreidoros. There, their vessels have their cargoes inspected before they are allowed to continue on to the main docks.
The city's poorest (and often, toughest) inhabitants live in the Beggarbriar district. Many of them earn a living crafting ropes, sails and other nautical supplies.
Eastwind is another well-known district, and is home to both rich and poor. It is built on the bluffs overlooking the city, and is divided into Low and High Eastwind.
Kerdak Bonefist makes his home in the fortress of Lucrehold, on the bluffs above Besmara's Beacon, the city's lighthouse.[2]
Humans, half-elves and half-orcs make up the majority of the city's inhabitants.[2] However, Port Peril is also one of the main halfling settlements in the Inner Sea region. Here halfling pirates and brigadiers roam the seas freely, many having fought for their freedom from slavery from their previous owners. Halfling captains may offer halflings on captured ships the bloody choice: become slaves again or turn on their current masters and join the captain's crew as pirates with full rights and equality.[4]
References [show/hide]
1 ↑ James Jacobs et al. (2011). The Inner Sea World Guide, p. 173. Paizo Publishing, LLC. ISBN 978-1-60125-269-2
2 ↑ 2.0 2.1 2.2 2.3 Mike Shel. (2012). Isles of the Shackles, p. 5. Paizo Publishing, LLC. ISBN 978-1-60125-408-5
3 ↑ Liz Courts. (2012). Port Peril. Tempest Rising, p. 60ff. Paizo Publishing, LLC. ISBN 978-1-60125-413-9
4 ↑ Hal Maclean and Amber E. Scott. (2010). Halflings of Golarion, p. 15. Paizo Publishing, LLC. ISBN 978-1-60125-278-4
"He that breaks a thing to find out what it is has left the path of wisdom." - Gandalf
J.R.R. Tolkien, Council of Elrond, The Fellowship of the Ring
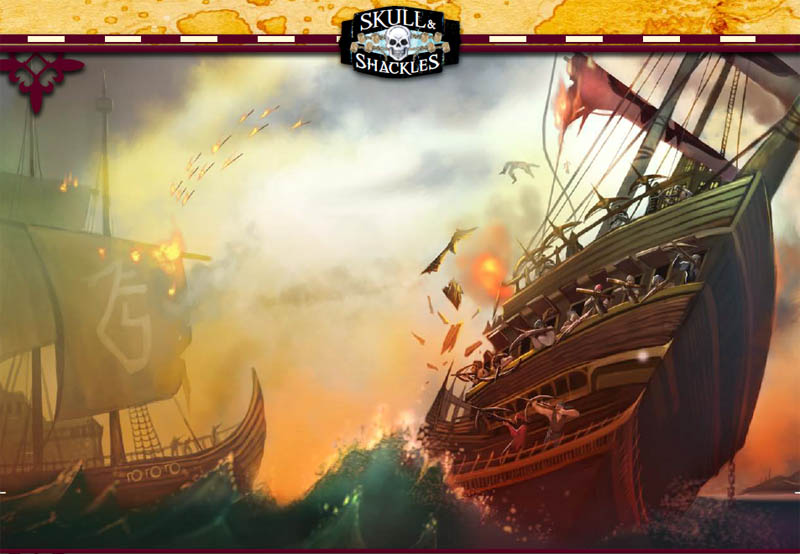
Slaves, ev'ry one of ya! Any Shackles pirate's worth ten o' you poxy devils, an' ev'ry Free Captain commandin' a sloop'll keep sailin' circles around any bloated Chelish frigate you send at us. We'll go on raidin' yer sea lanes, stealin' yer silver coins with Abrogail's pouty gob stamped on them, an' we'll cart it all back home, where we'll sing an' drink 'til the sea swallows us all! I'm ready to do my dance with Besmara; no regrets for a life lived free on the waves. The worms'll be better company than you ugly, dung-eating devil's slaves anyway!
Last words spoken by Free Captain Wilihem Wache, moments before his public hanging in Macini for piracy
"He that breaks a thing to find out what it is has left the path of wisdom." - Gandalf
J.R.R. Tolkien, Council of Elrond, The Fellowship of the Ring
The Wormwood is a three-masted sailing ship, 100 feet long from stem to stern, and 30 feet wide amidships. Statistics for a sailing ship (as well as other common ship types) are detailed in the Skull & Shackles Player's Guide. The ship needs a minimum crew of 20, and presently has just in excess of that number (including the PCs). If the crew falls below 20 people for any reason, the work becomes harder, and the DC of all checks for work-related tasks (see page 23) increases by +2.
Unless otherwise indicated, interior walls on the ship are of wood, 2 inches thick (hardness 5, hp 20, Break DC 20). Doors are of good wooden construction (hardness 5, hp 15, Break DC 18). Interior rooms are unlit during the day (except for those with windows or portholes), and usually have a single hooded lantern for light at night, providing either normal or dim light (open flames are dangerous on a ship at sea). Many doors and chests are trapped to keep them off-limits to swabs and common sailors (such as the PCs).
The Wormwood is crowded with pirates constantly moving about the ship, so it is not a static location, and any place on the ship can contain a variety of NPCs to interact with.
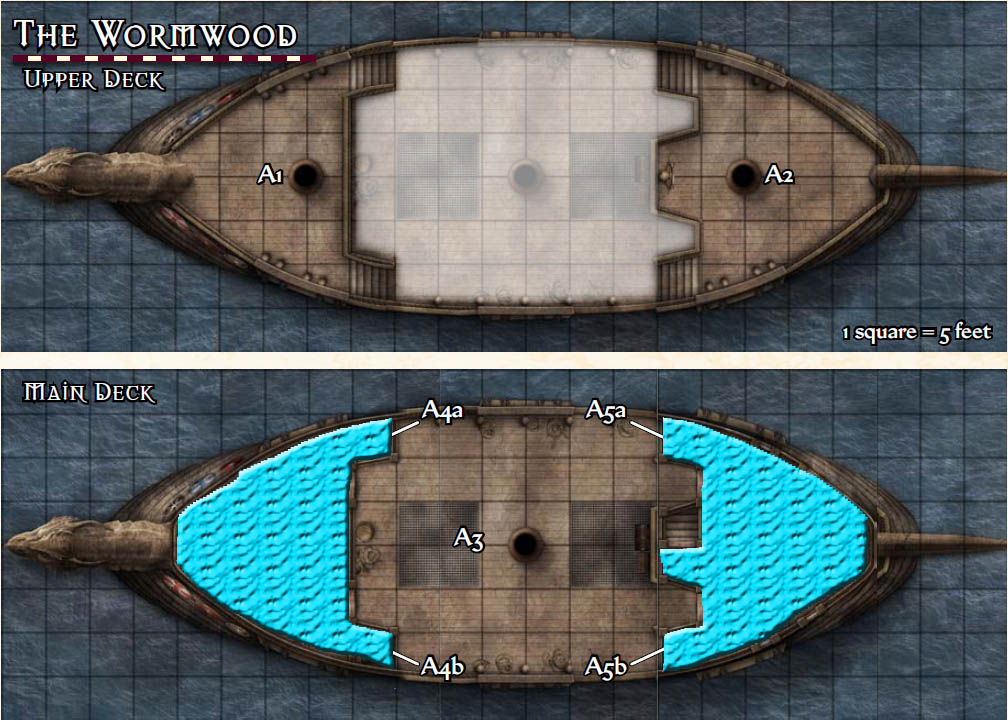
A1. Foredeck: This raised deck stands some 10 feet above the main deck (area A3), immediately behind the bowsprit, which is shaped like a rearing dragon. The foremast rises 30 feet above this deck.
A2. Poop Deck: This raised deck stands 15 feet above the main deck (area A3). The mizzenmast rises 30 feet above this deck. The ship's bridge protrudes forward of the mizzenmast, and holds the ship's wheel. The wheel is 3 feet across and has 10 spokes decorated with silver inlays, its bolts carved to resemble kraken heads. An iron cage hangs from the side of the mizzenmast, containing
the body of Harmak Gruft, a pirate who beat the captain at dice. Gruft is dead, but his ugly parrot Pluck perches atop the cage, still waiting for its master to awaken. The aptly named Pluck has lost more than few of its feathers is rather unfriendly and possesses a considerable vocabulary of appalling curse words.
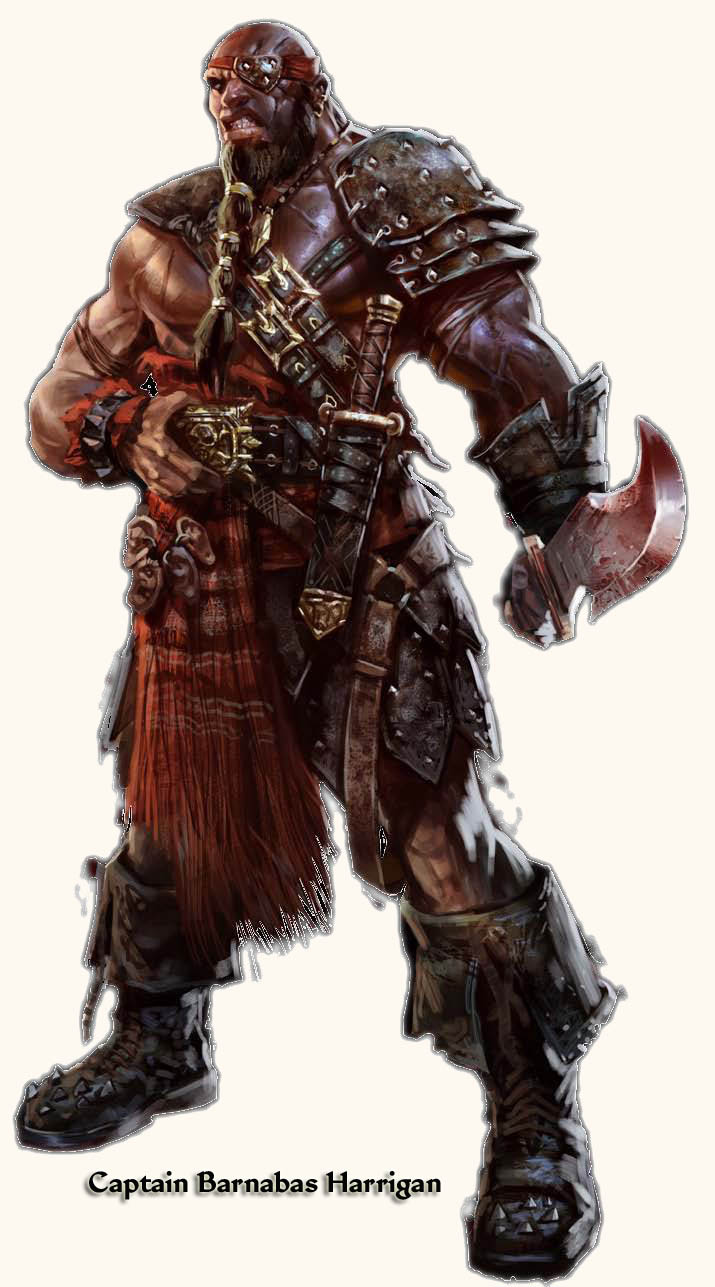
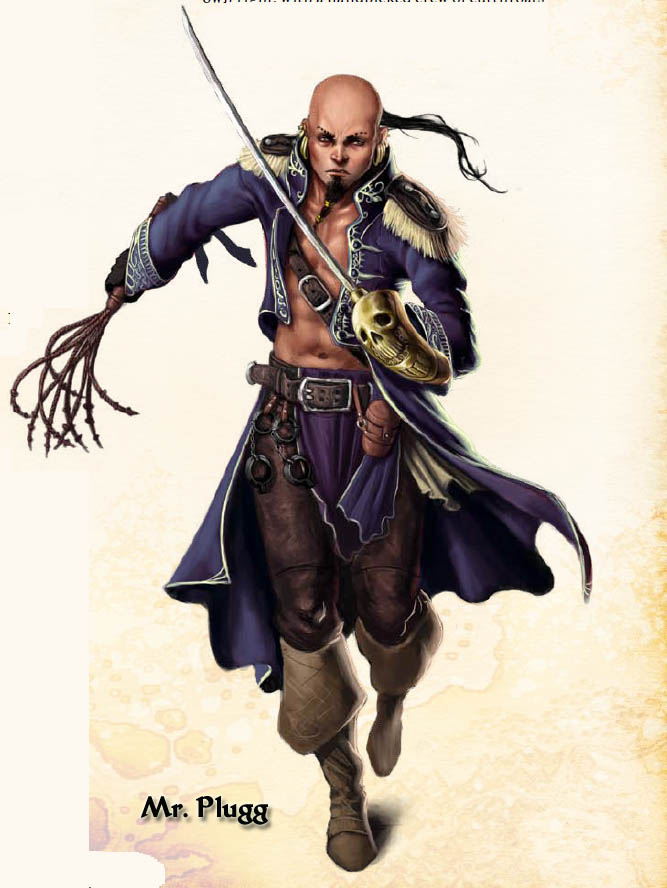
Captain Harrigan and Mr. Plugg spend most of their time on this deck. When the captain is on deck, the poop deck is off-limits to everyone but officers.
A3. Main Deck: The ship's main deck runs between the foredeck and poop deck. The mainmast rises from the center of the deck, extending 60 feet into the air and topped by a crow's nest. Rigging connects the mainmast to the ship's other masts and can be crossed with DC 10 Acrobatics or Climb checks. Several strands of thick rope are secured to the foot of the mainmast for use as a whipping post. The ship's clock, a macabre brass-and copper object depicting worms writhing through whale corpses, hangs from the mast above the whipping post. Not only does the clock keep time, but its bell strikes at dawn and dusk to signal the beginning and the end of the workday.
Two 10-foot-square hatches sit in the deck fore and aft of the mainmast. These hatches are thick wooden grilles (hardness 5, hp 30, DC 25 Strength check to lift) and open onto the middle hold (area A6) 15 feet below. At the fore of the ship, two doors lead into the officers' quarters (area A4), while two doors aft lead to the captain's quarters (area A5). A large wooden box bound in iron sits just beneath the bridge. This sweatbox, used to torment sailors, has just enough room to hold one Medium creature (and can be altered to confine a Small creature).
A small jolly boat (same statistics as a rowboat) sits on the deck next to the port rail. It has two sets of oars but no mast. Although designed to carry four Medium passengers, the jolly boat can fit six at a push.
A4. Officer's Quarters: This area is off limits and unexplored.
A5. Captain's Cabin: Captain Harrigan's private and unexplored cabin.
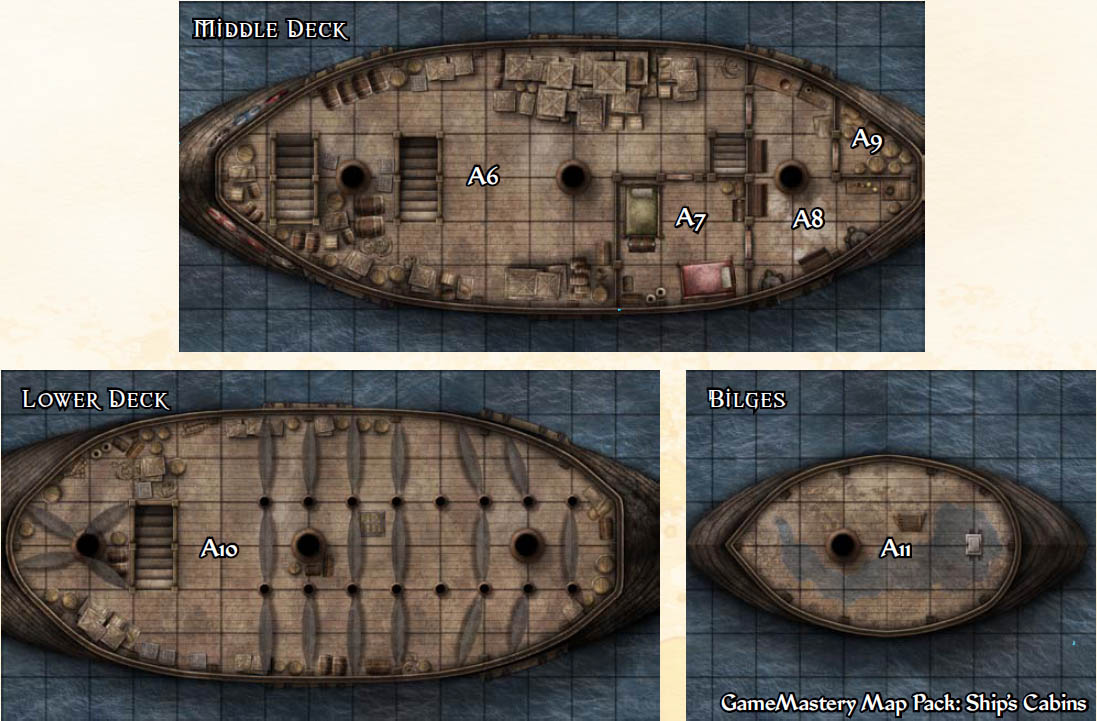
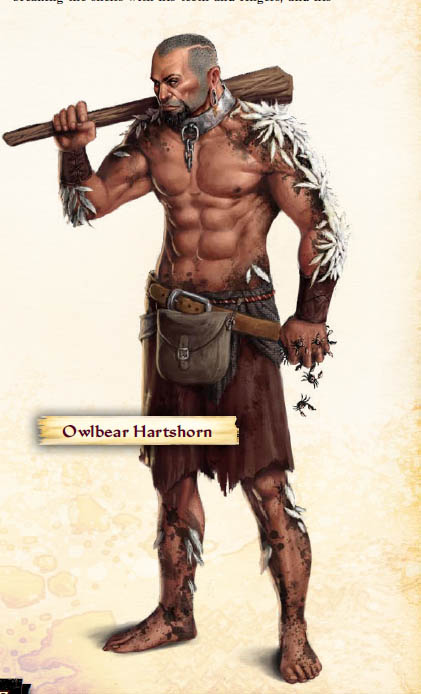
A6. Middle Hold: This is the ship's main cargo hold. The hold is mostly empty at the start of the adventure, save for the 14 pigs; normally kept caged, they periodically escape and run loose within the hold. In the forward section, a flight of wooden stairs climbs up to the officers' quarters (area A4), while a second set of stairs descends into the lower hold (area A10). Owlbear Hartshorn is invariably chained to the foremast here to keep him from causing trouble and to keep people out of the officers' cabin. Another flight of stairs in the aft section next to the galley leads up to the captain's quarters (area A5). You haven't had a chance to explore the area.
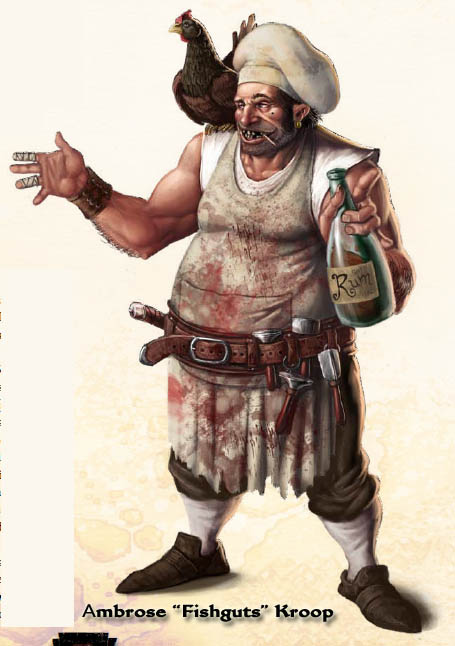
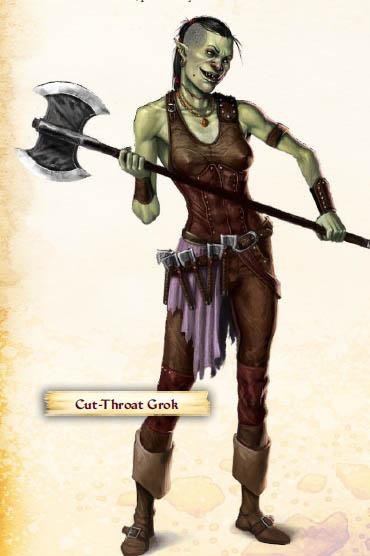
A7. Quartermaster and Cook's Cabin: This tiny cabin contains two beds and two footlockers. The Wormwood's quartermaster, Cut-Throat Grok, and ship's cook, Ambrose “Fishguts†Kroop, share this cabin with several of Kroop's chickens. Grok sleeps here at night, as does Kroop, who is found here during the day as well if he is insensibly drunk. See the sidebar on this page for the contents of the lockers here.
A8. Galley: The galley is the domain of Ambrose “Fishguts†Kroop, the drunken ship's cook. The cramped and chaotic kitchen holds two wooden worktables, several wooden cupboards, and two small stoves against the port wall, as well as virtually every cooking utensil imaginable and a frightening array of meat cleavers. A score of chickens and three goats wander freely throughout the chamber; the goats are meant to be caged, but have a distressing tendency to escape their bonds. The kitchen is a madness of dirt, food, and knives, and finding anything in here requires a Perception check. The stoves are perpetually lit, and large cauldrons bubble away atop them all times. A huge array of spices mingle with barrels of rainwater, two tuns of rum, cupboards full of ship's biscuit and salted beef, barrels of sauerkraut, and a small supply of fresh vegetables picked up in Port Peril.
A9. Quartermaster's Store: The ship's quartermaster, Cut-Throat Grok, can usually be found in this cramped, crowded storeroom containing numerous barrels, boxes, and chests. The door is locked with a superior lock (Disable Device DC 40), and features a 3-foot-square serving hatch (also with a superior lock). The quartermaster's store acts as a kind of unofficial shop aboard the Wormwood. While any plunder stored there technically belongs to the captain, this is a pirate ship after all, and everything has its price. Any equipment stored within is for sale at the normal price listed in the Core Rulebook.
Items found on the ship (or won from other pirates) can also be traded at the store for other merchandise. Bartered objects are generally worth 50% of their normal value when traded for goods. While the store is, in theory, open at all hours, it's usually only open from dawn to about 3 p.m., when Grok starts drinking. She only opens the door outside these hours to friends. After supper, Grok carries the crew's rum rations in a bucket to the main deck.
Treasure: The quartermaster's store contains two tuns of rum (each holding about 105 gallons at the start of the journey) and six other containers.
A10. Lower Hold and Crew Berths: Sixteen pillars support the deck above this spacious hold. At night, the Wormwood's common pirates tie their hammocks between the walls and pillars and sleep until dawn. Stairs lead up to the middle hold (area A6). A trap door just behind the mainmast opens onto the bilges below (area A11), and requires a DC 10 Strength check to lift. The hold is currently empty of cargo, but several footlockers line the walls.
A11. Bilges: The lowest deck of the ship, the bilges are a foul, damp place with thick cobwebs above and 1–2 feet of dark, brackish water that stinks abominably below. A ladder leads up to a trap door that opens in the lower hold (area A10), and a single bilge pump rests near the stern. The bilges also double as the ship's brig, and six sets of masterwork manacles with average locks are fixed to the bulkheads in the forward portion of the deck.
GM Note: I'll open up the map as you explore the ship. I will also fill out the key as we go.
"He that breaks a thing to find out what it is has left the path of wisdom." - Gandalf
J.R.R. Tolkien, Council of Elrond, The Fellowship of the Ring
"Sure, kid, I love the sea. I love the salty spray of the ocean in my face, the breeze playing in my hair. Nothing makes you feel freer than riding the waves, the sun dappling the waters. Yeah, I love the sea, but I don't necessarily love what's in it—that's what'll make you lose sleep. All teeth, claws, and tentacles, the terrors that rest in the deep. And don't rest easy when we put ashore on some sunny island either, kid. Just because it can't pull you beneath the water doesn't mean it can't kill you in a second.'
-Henessa Cayhopper of the Shackles, boatswain on the pirate frigate Weeping Trident, to a young shipmate
Master Gunner
"He that breaks a thing to find out what it is has left the path of wisdom." - Gandalf
J.R.R. Tolkien, Council of Elrond, The Fellowship of the Ring
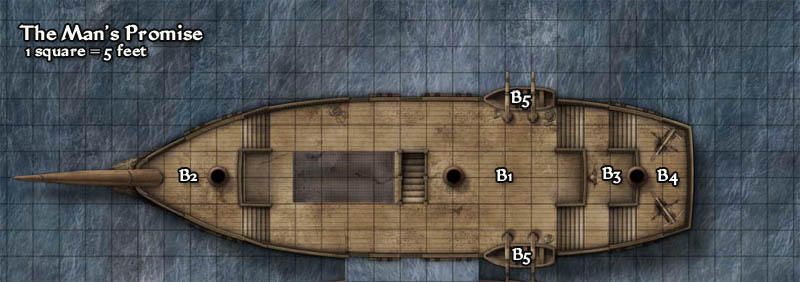
The Man's Promise is a three-masted sailing ship, 105 feet long and 30 feet wide (see the Skull & Shackles Player's Guide). A minimum crew of 20 is required to sail her. Unless otherwise indicated, interior walls on the ship are of wood, 2 inches thick (hardness 5, hp 20, Break DC 20). Doors are of good wooden construction (hardness 5, hp 15, Break DC 18). Interior rooms are unlit during the day (except for those with windows or portholes), and usually have a single hooded lantern for light at night. The decks and compartments of the Man's Promise are detailed below. The crew of the Wormwood has thoroughly ransacked the Man's Promise, and besides those features listed below, the ship is empty beyond common items such as hammocks, lanterns, rope, and a few other mundane objects. At the start of the voyage, Mr. Plugg and Master Scourge assign the crew to berths and cabins on the ship; these assignments are included in the room descriptions below.
B1. Main Deck: Two 10-foot-square hatches sit in the deck forward of the mainmast and open onto the middle hold. Between the hatches and mast, a steep set of wooden steps descends into the middle deck (area B8) 15 feet below.
B2. Foredeck: The foredeck rises 10 feet above the main deck. The ship's nameplate on the hull reads Man's Promise, but a DC 10 Perception check notices a second nameplate beneath it. This second nameplate reads the Motley. Further investigation reveals marks in the wood of the hull that indicate that a previous nameplate existed before that one, but it has long since been removed.
B3. Aft Deck: The aft deck sits 10 feet above the main deck, and steps lead up to an even higher deck behind the mizzenmast. The ship's wheel stands just before the rail overlooking the main deck.
B4. Sterncastle: This high deck sits behind the mizzenmast, 20 feet above the main deck. A pair of light ballistas sit upon this deck, next to a box containing a dozen ballista bolts.
B5. Ship's Boats: Two ship's boats, a cutter and a gig (see the Skull & Shackles Player's Guide for statistics), hang from davits on the gunwales just forward of the aft deck. The boats are lashed to the ship and require three DC 10 Profession (sailor) checks or Dexterity checks to launch. Each such check is a full-round action. Each ship's boat has four oars and a single mast. The cutter can carry up to 12 Medium passengers, while the gig can carry up to 8 Medium passengers.
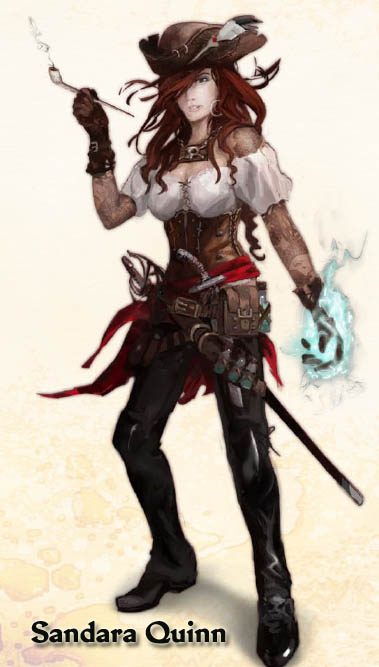
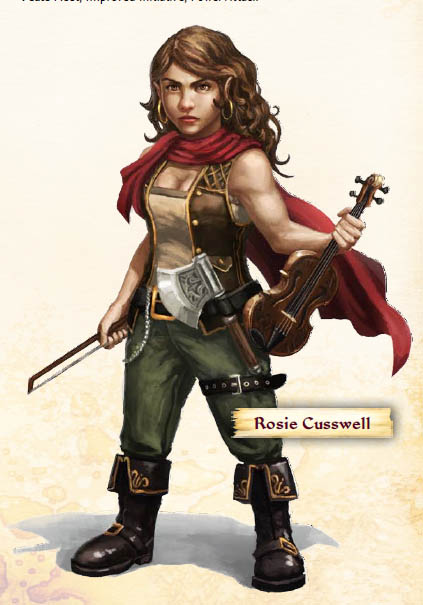
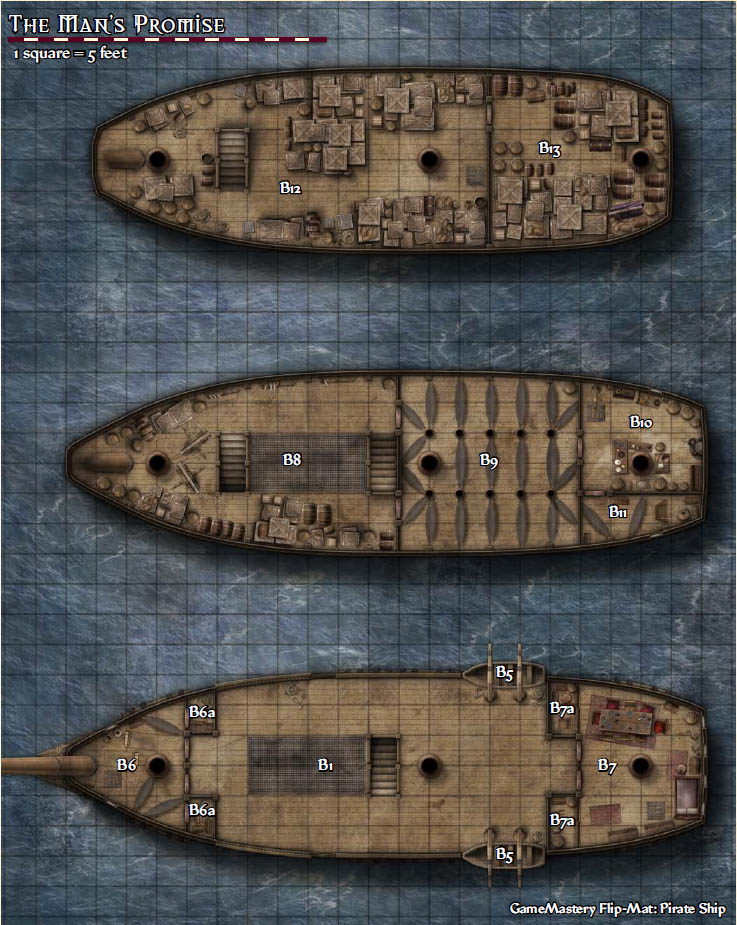
B6. Officers' Quarters: This tidy cabin has two portholes to allow light and fresh air to enter. A hefty trap door sits in the floor, leading to the middle deck (area B8). Mr. Plugg assigns Master Scourge and those pirates loyal to him to this cabin. He also instructs Sandara and Rosie Cusswell to bunk here, aiming to keep an eye on them.
B6a. Officers' Storage: These two storerooms are both unlocked and hold the lockers and personal effects of those pirates berthed in the officers' quarters (area B6).
B7. Captain's Cabin: The rear wall of this luxurious (by pirate ship standards) cabin holds four gilt-framed windows that rise the full height of the chamber. The cabin contains a luxurious hammock, a dining table and chairs, and a few chests and bookshelves. A trap door opens directly into the cook's cabin below (area B11). The two doors opening onto the main deck and the trap door are locked with good locks (Disable Device DC 30; Plugg has the keys). The windows do not open. Mr. Plugg has claimed this cabin as his own, and has also chained Owlbear Hartshorn to the mast with manacles and a 15-foot-long chain (hardness 10, hp 10, Break DC 26, Disable Device DC 20; Mr. Plugg has the keys), instructing him to kill anyone who enters.
B7a. Captain's Storage: These small storerooms do not have doors, but are separated by sliding walls that can also be removed and made into a folding table. The starboard compartment contains a small writing desk and a couple of chests. One of the chests is locked with a good lock (Disable Device DC 30).
B8. Middle Deck and Armory: The middle hold of the Man's Promise is currently empty, though the weapon racks along the walls only need to be restocked to turn this hold into a working armory. Steps behind the foremast descend into the main hold (area B12). A second set of stairs against the aft bulkhead lead up to the main deck (area B1).
B9. Crew Berths: Ten supporting pillars behind the mainmast fill this spacious compartment, with room for over a score of hammocks. Plugg assigns all of the PCs and their friends to these berths, except for Sandara and Rosie.
B10. Galley: This sizable galley contains a large stove against the aft bulkhead and a single porthole in the starboard wall. In one corner, a derrick stands next to a trap door that opens into the secure storage below (area B13). The door is locked with a huge, good padlock (Disable Device DC 30). It takes a full round to raise or lower the line on the derrick, which can lift up to 200 pounds of cargo. The galley has been stocked for the journey to Port Peril, but the food is scant at best.
B11. Cook's Cabin: This filthy cabin contains two dirty hammocks and a single porthole in the port wall. A rickety ladder ascends to a trap door in the ceiling, leading to the captain's cabin (area B7). Ambrose Kroop sleeps here, and he has also stashed a small barrel of rum he managed to secure from Cut-Throat Grok before leaving the Wormwood.
B12. Main Hold: Essentially empty after being looted by the crew of the Wormwood, the main hold of the Man's Promise contains a large water barrel secured to the starboard wall. Stairs behind the foremast lead up to the middle deck (area B8), while a trap door near the mainmast leads to the bilges, which contains two bilge pumps, forward and aft. If anything, there are more bilge spiders there than in the Wormwood.
B13. Secure Storage: This large compartment aft of the main hold is locked with a good lock (Disable Device DC 30), but is presently empty.
"He that breaks a thing to find out what it is has left the path of wisdom." - Gandalf
J.R.R. Tolkien, Council of Elrond, The Fellowship of the Ring
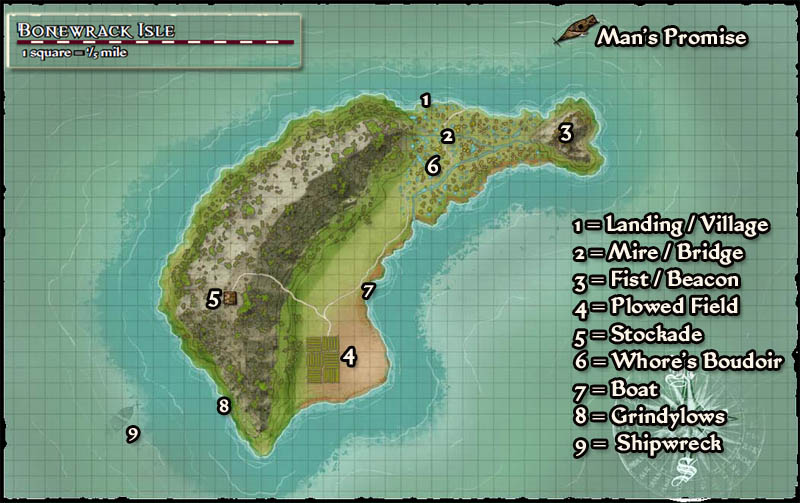
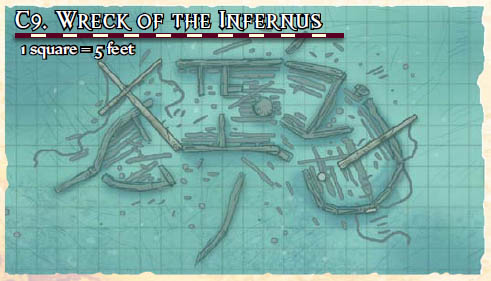
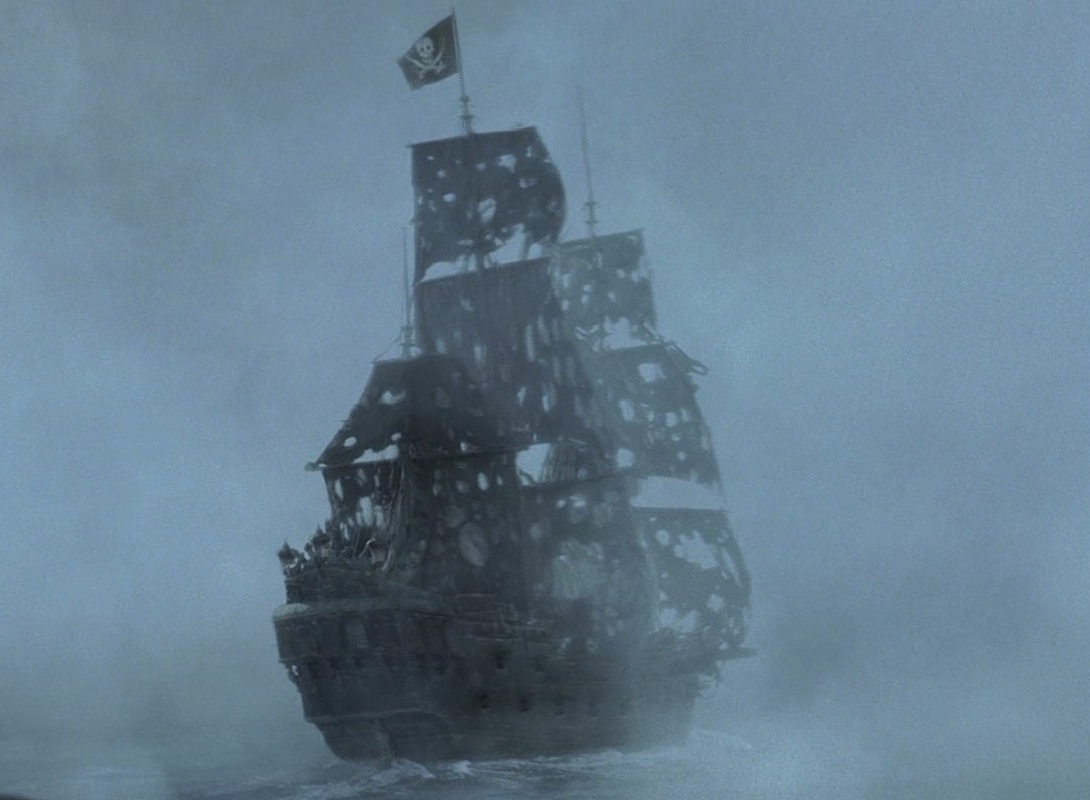
Located some place south of the Shackles, Bonewrack Isle has a reputation on being haunted. Sailors avoid the reef filled waters around it when possible.
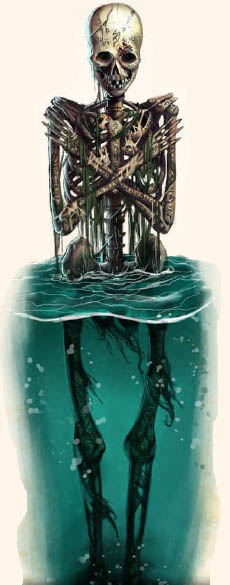
Located around the isle are strange skeleton, set out as warnings to avoid the waters, but by who, you don't know.
"He that breaks a thing to find out what it is has left the path of wisdom." - Gandalf
J.R.R. Tolkien, Council of Elrond, The Fellowship of the Ring
Book 2 - Act 1 We live by the grace of the sea, and we die by her wrath.
When she gives we celebrate, and when she takes we beg forgiveness.
But we never disparage her claims, for when she gives her gift, we gain life.
When she takes from us, we know we have mistreated her.
When we sail the open sea, we are in her embrace alone,
And we long for her to rock us to sleep
Instead of breaking our bodies against the rocks
Or taking our breath to the cold depths.
Gathered, we ask the sea to take our brother into her bosom
As she has taken his life from us.
May he be blessed, and the sea as well.
-Common passage from a sailor's funeral
"He that breaks a thing to find out what it is has left the path of wisdom." - Gandalf
J.R.R. Tolkien, Council of Elrond, The Fellowship of the Ring
Book 2 - Act 2 Rule the Shackles you say? A fool's ambition.
Here land and sea murder at the whim of ancient gods and men's smiles hide a thousand knives. Those deceived into believing that the Kraken's tentacles are more fearsome than its schemes soon find themselves cruelly enlightened. The Schakles is too vast and its terrors too countless for even the bravest adventurer to conquer. It won't stop them from trying though, and that means good business for me. I thank the gods daily for sending so many fools into this world.
- Saldrin Seaheart, local guide and purveyor of “adventuring supplies
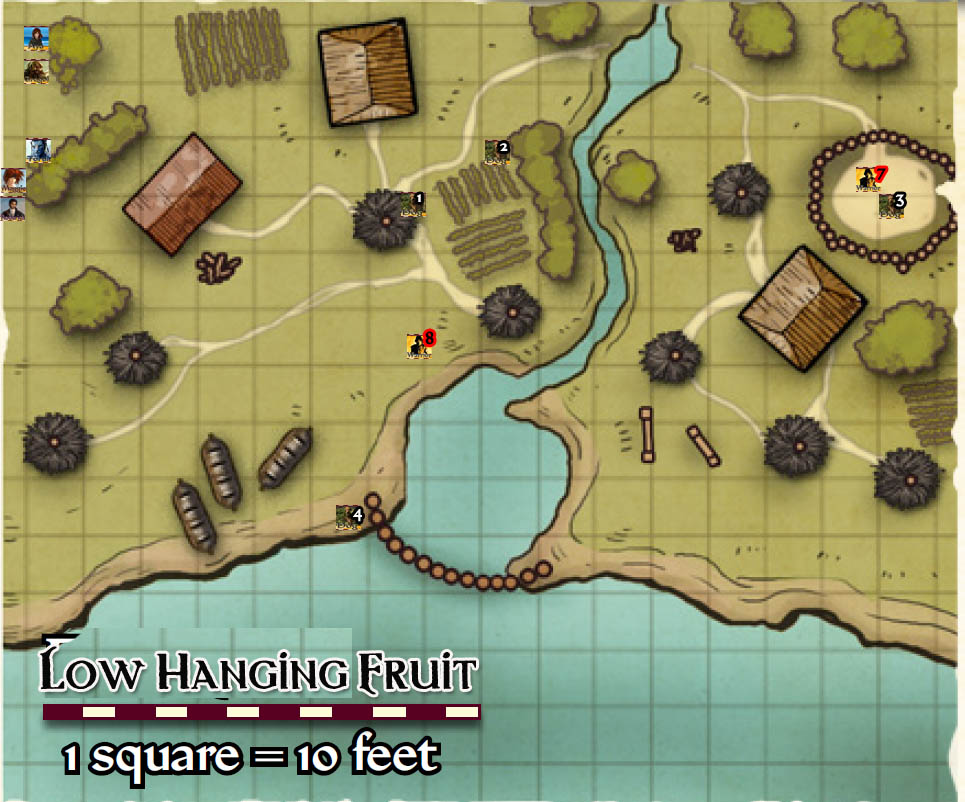
Low Hanging Fruit - Tribal Village and Enemies
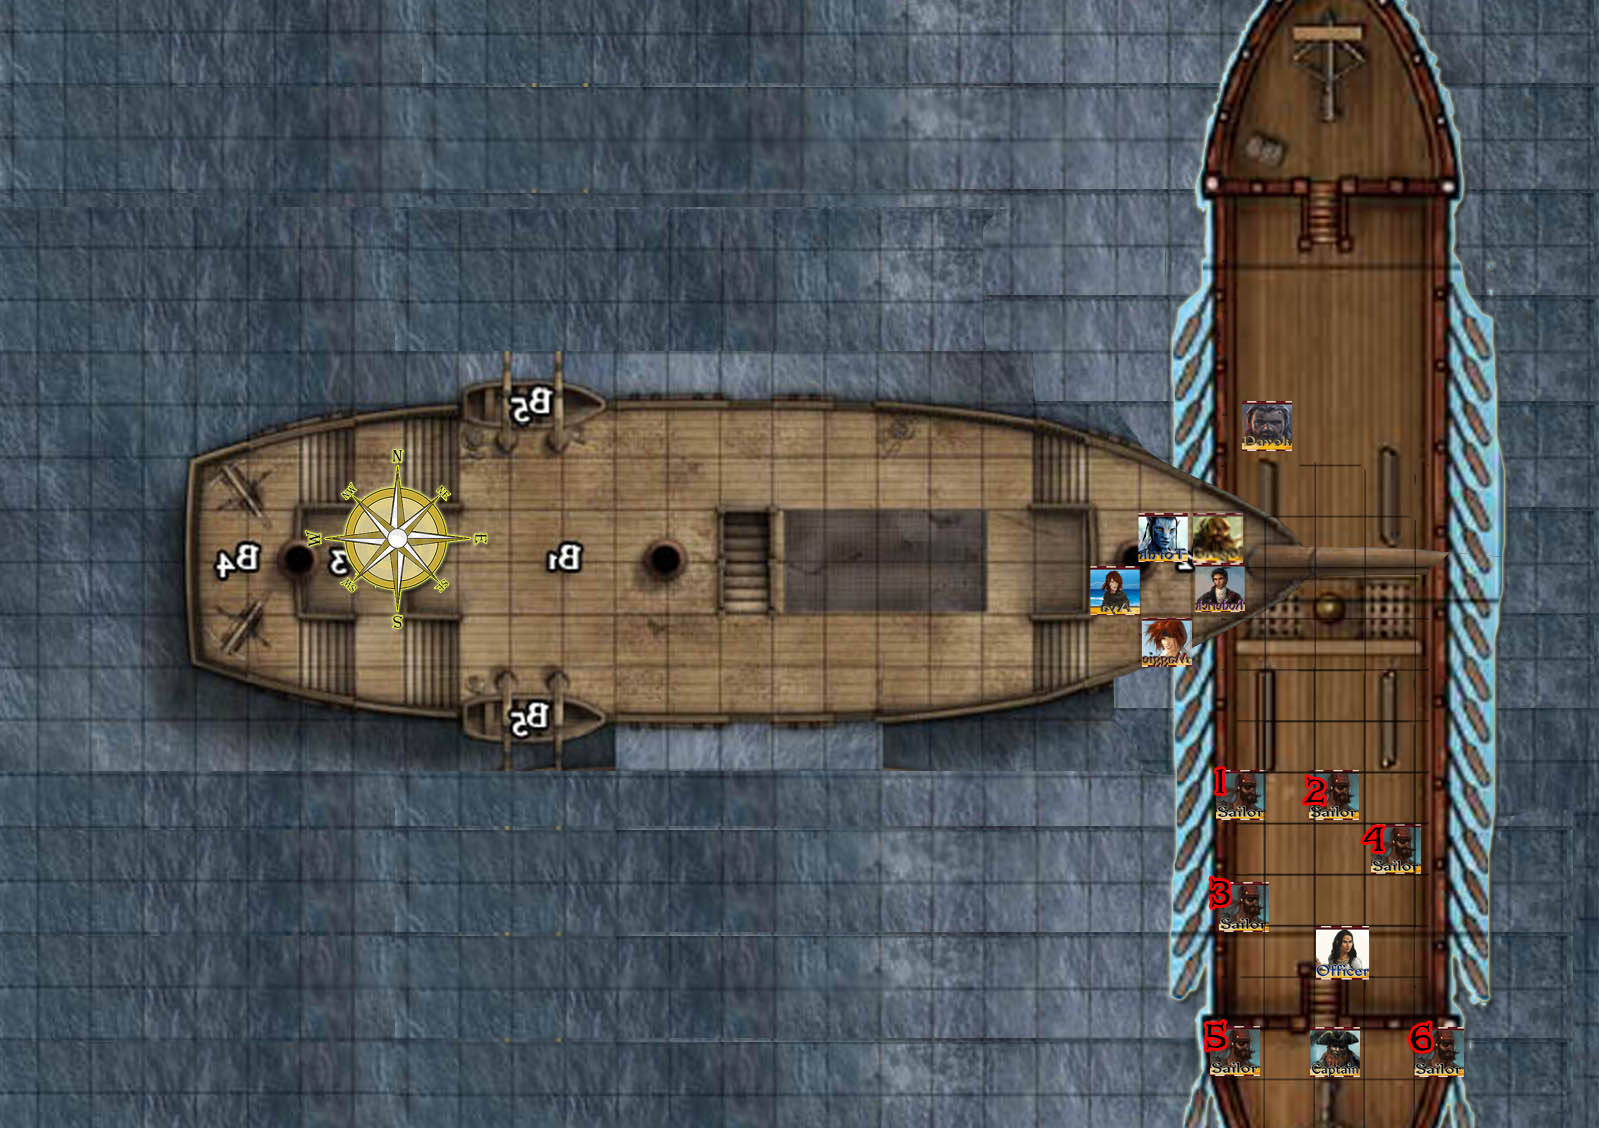
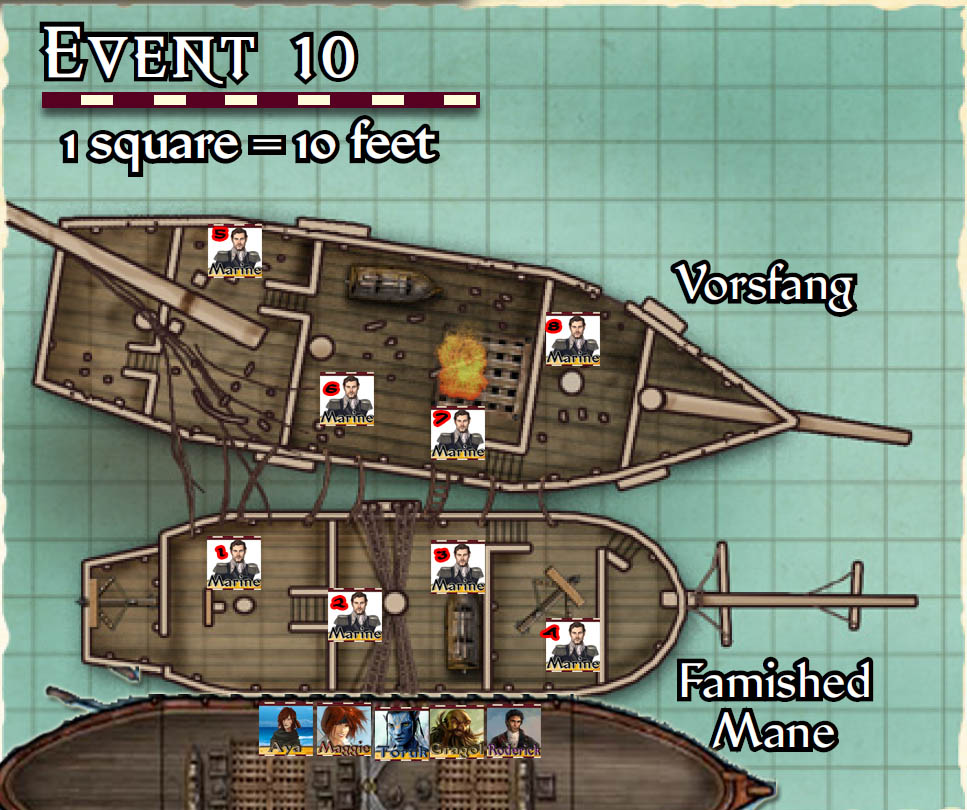
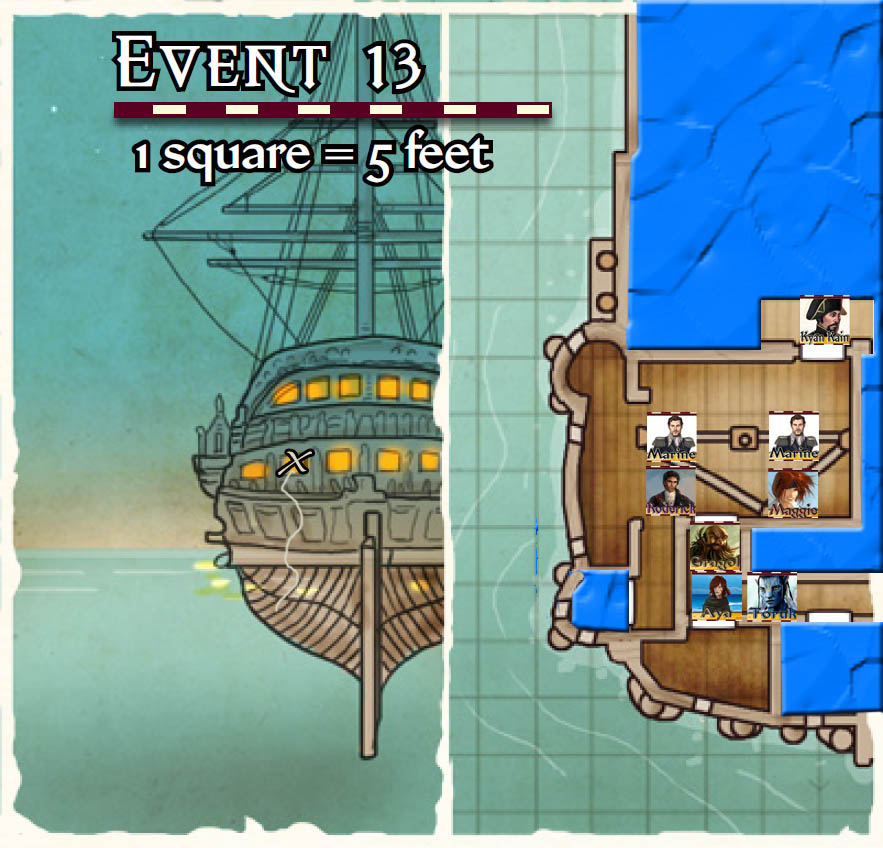
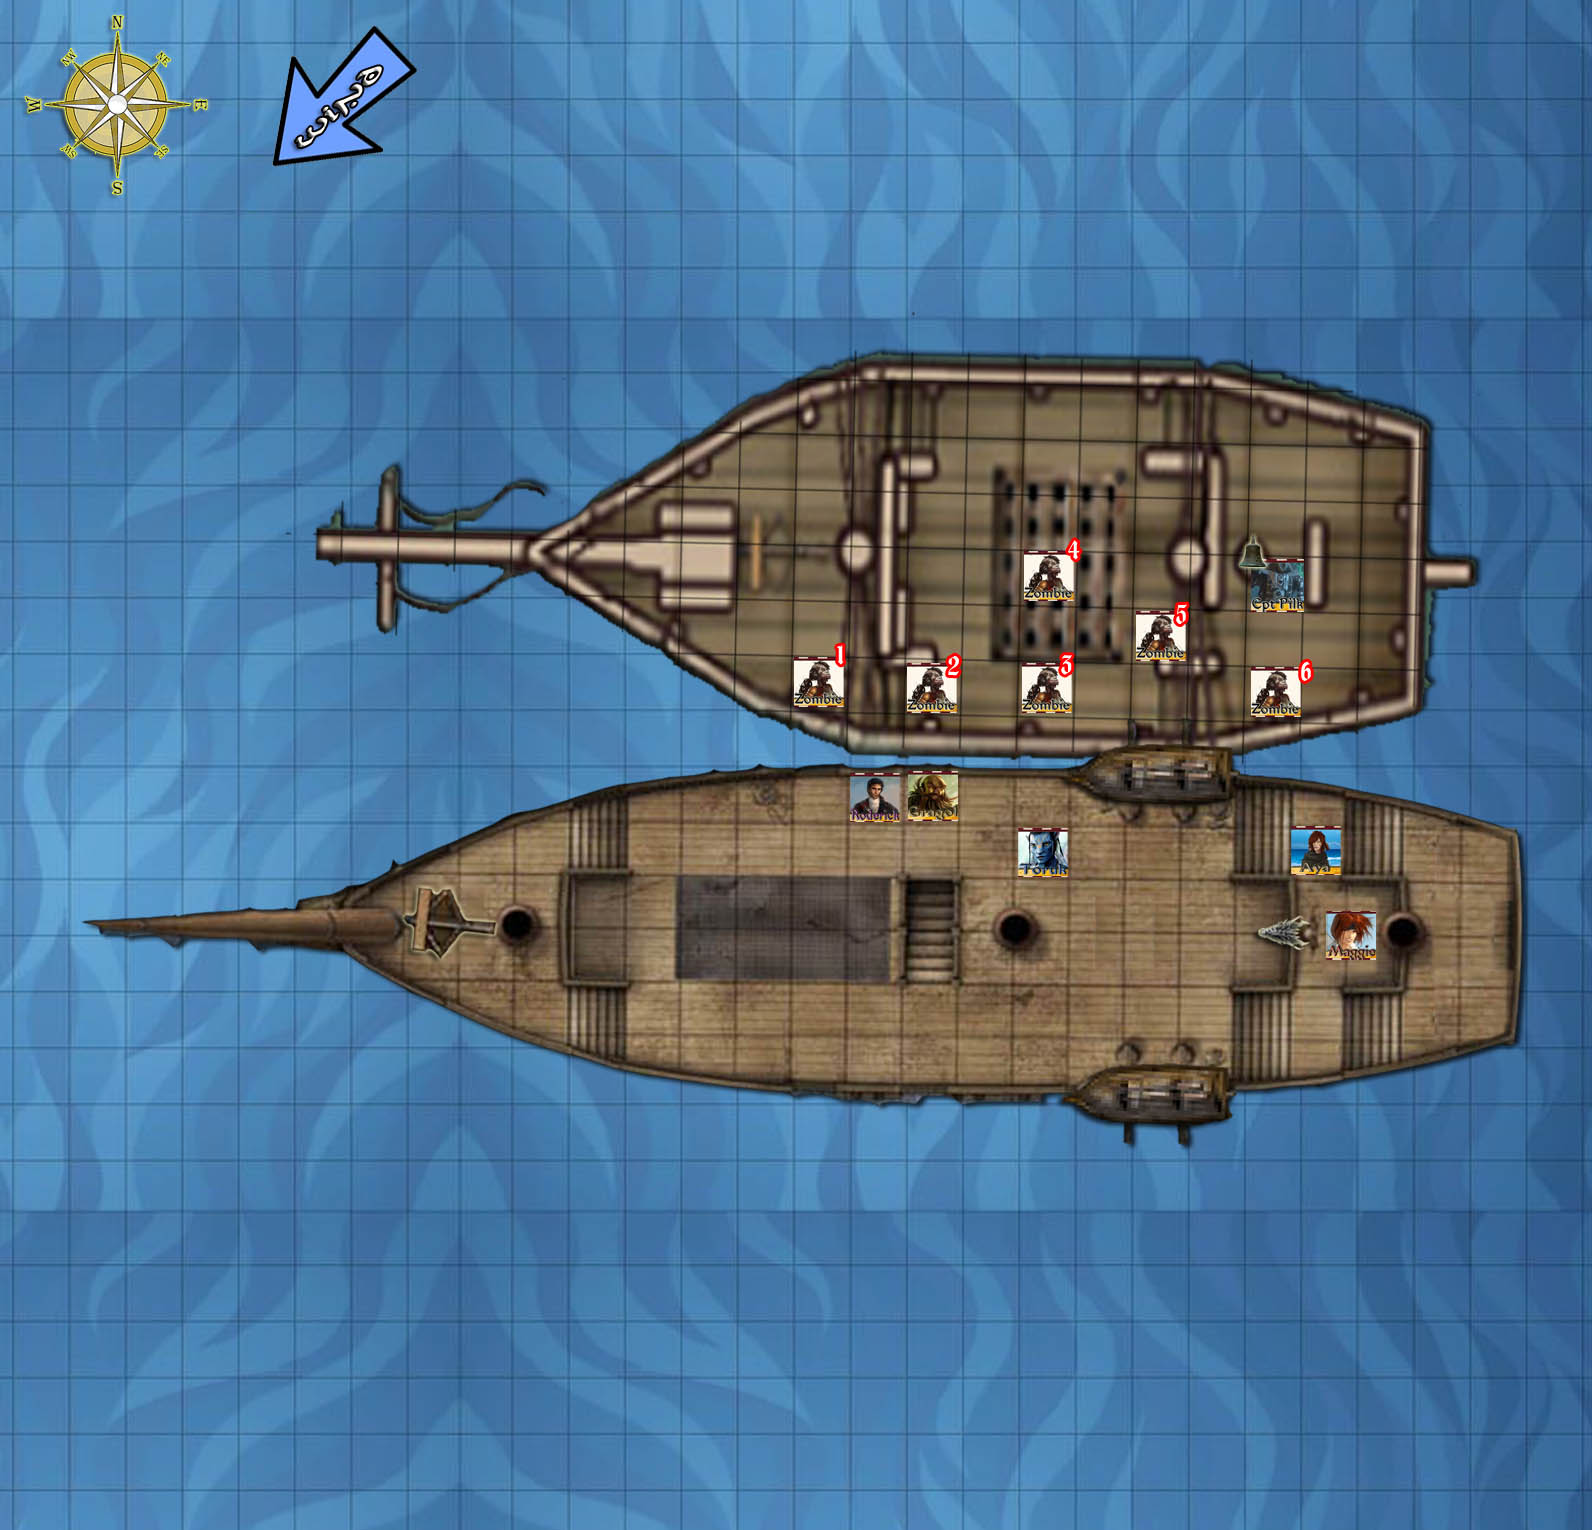
Boarding Action Map Example
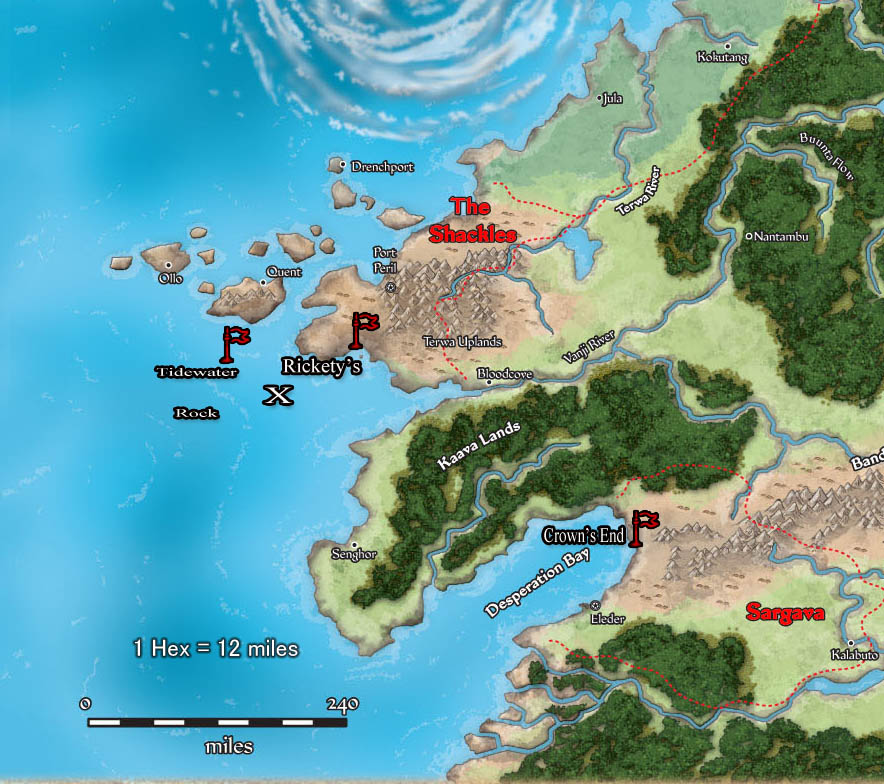
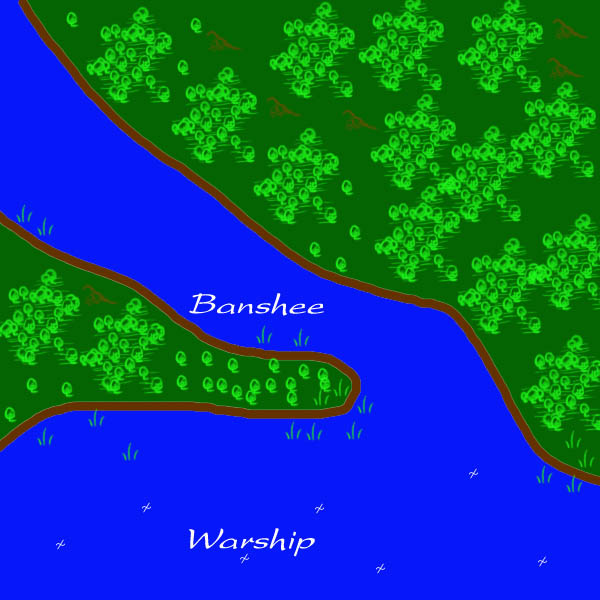
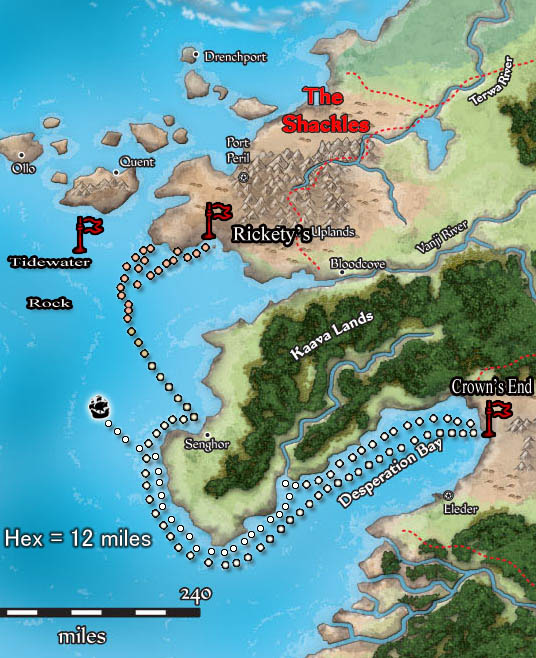
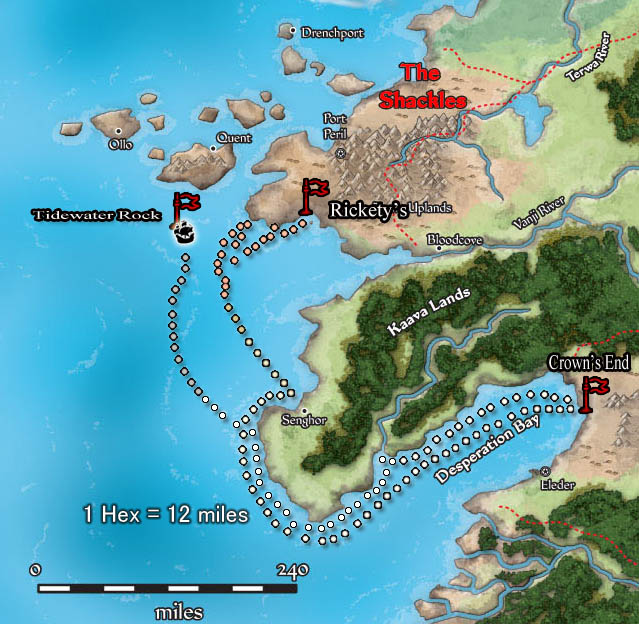
Sailing Map
The Vorsfang and Famished Mane
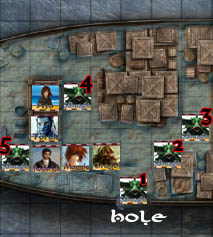
Hook, Line and Sinker - Sahuagin Attack
City of Senghor
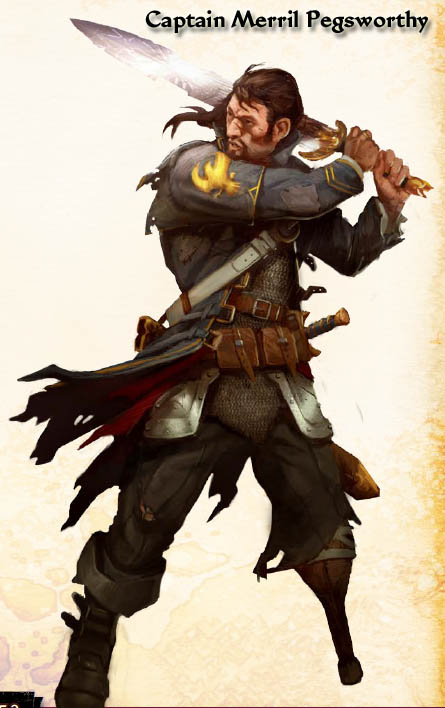
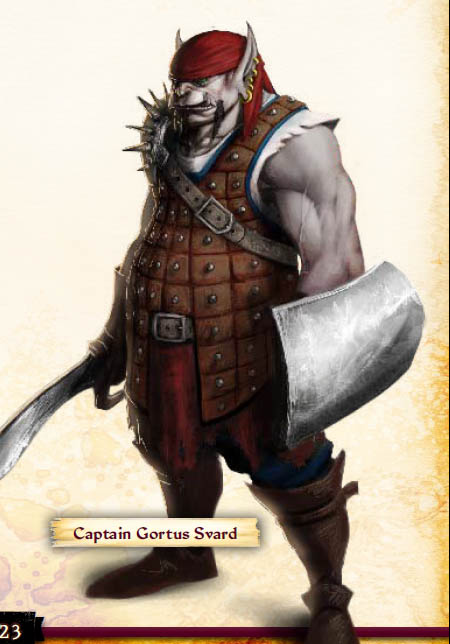
Captain Gortus Svard
Port of Crown's End
The Dominator and Map
Attack on the Dominator and Crew
Sailing Map
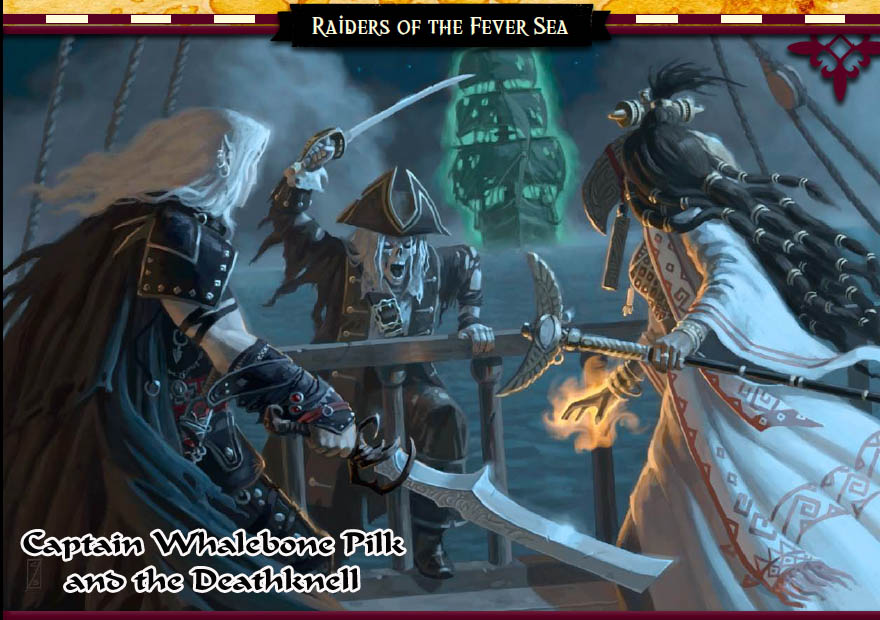
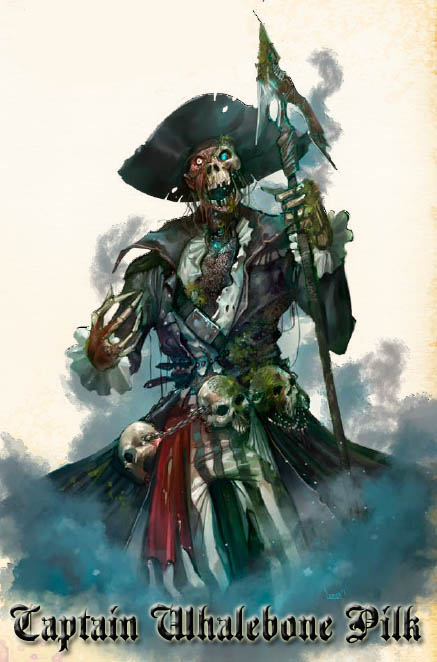
The Deathknell & Attacks of Captain Pilk
"He that breaks a thing to find out what it is has left the path of wisdom." - Gandalf
J.R.R. Tolkien, Council of Elrond, The Fellowship of the Ring
Book 2 - Act 3 We live by the grace of the sea, and we die by her wrath.
When she gives we celebrate, and when she takes we beg forgiveness.
But we never disparage her claims, for when she gives her gift, we gain life.
When she takes from us, we know we have mistreated her.
When we sail the open sea, we are in her embrace alone,
And we long for her to rock us to sleep
Instead of breaking our bodies against the rocks
Or taking our breath to the cold depths.
Gathered, we ask the sea to take our brother into her bosom
As she has taken his life from us.
May he be blessed, and the sea as well.
—Common passage from a sailor’s funeral
Lady Agasta
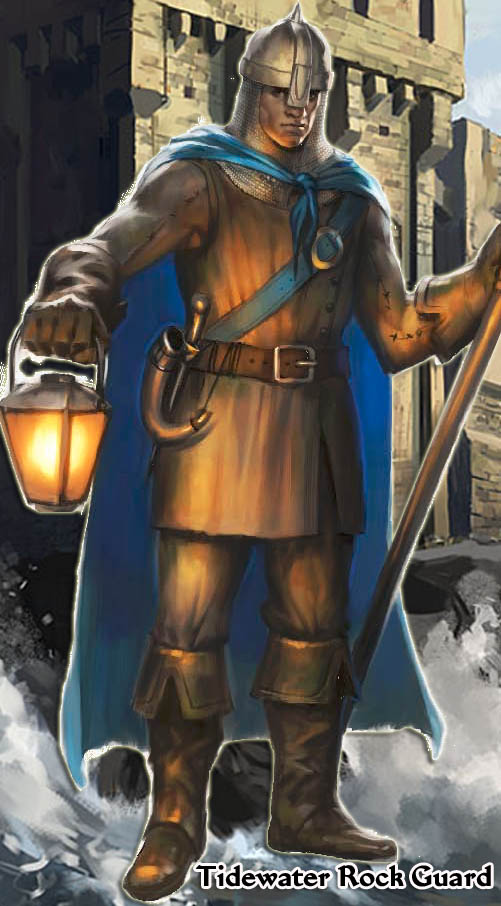
Tidewater Guards
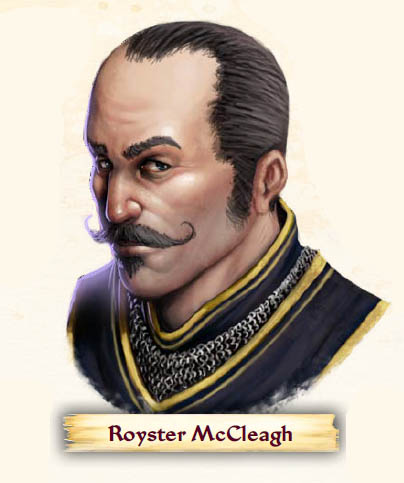
Sgt. Royster
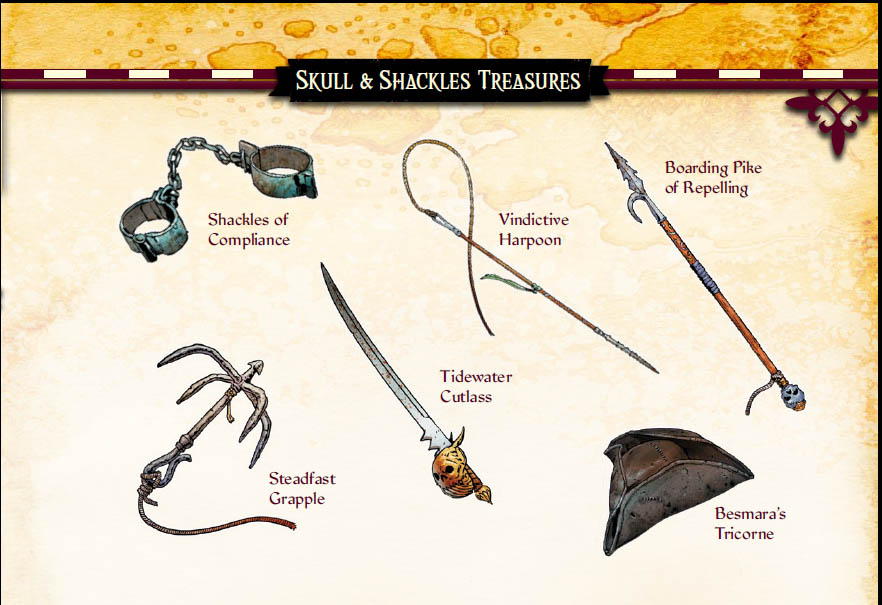
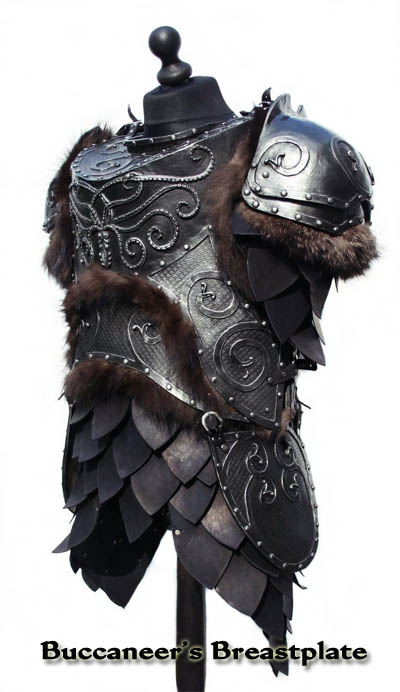
Iron Bert Smythee's famed "Iron Shirt"
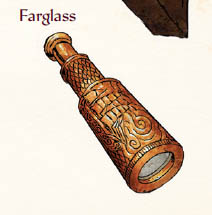
Lady Agasta's Farglass
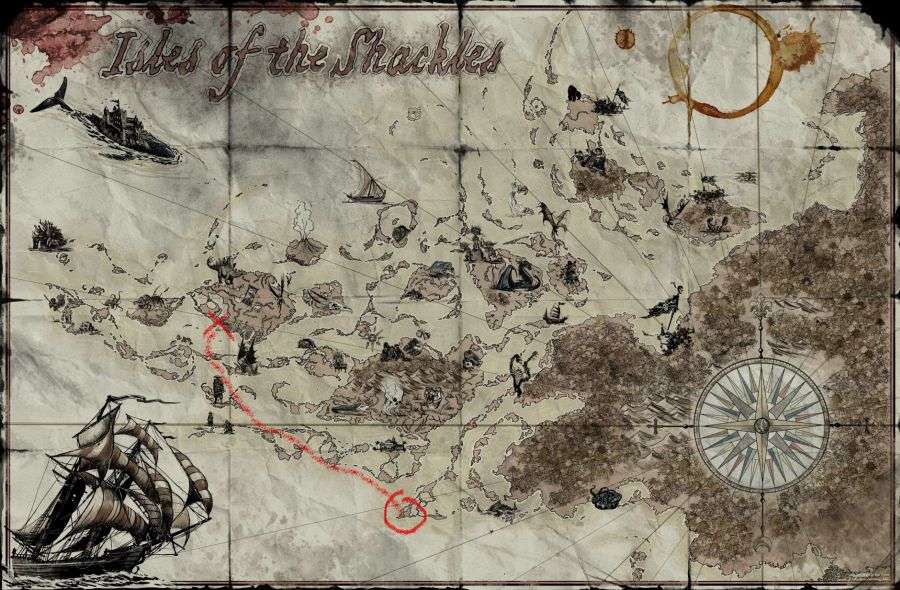
Aya's Map
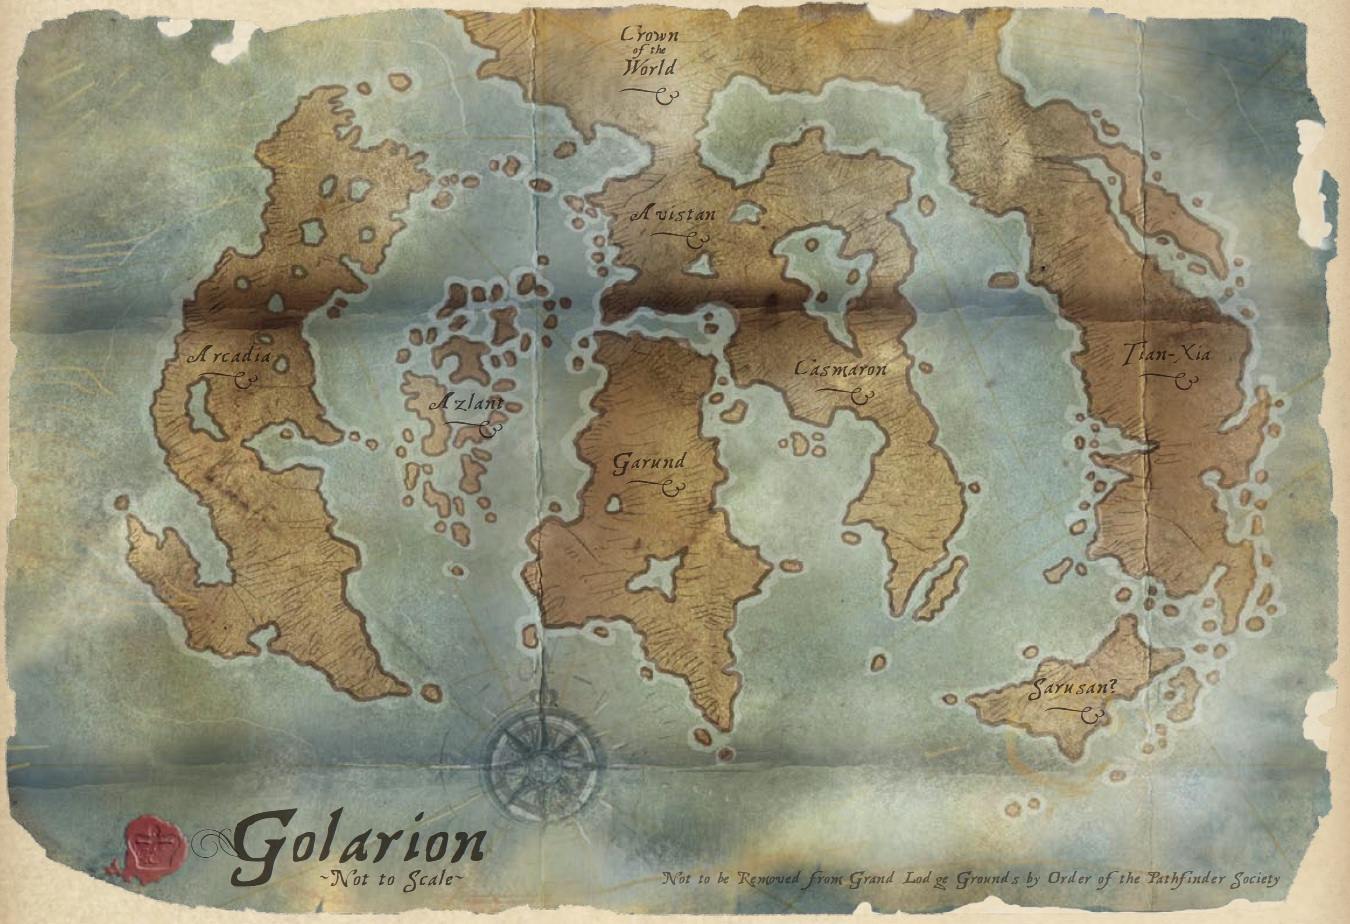
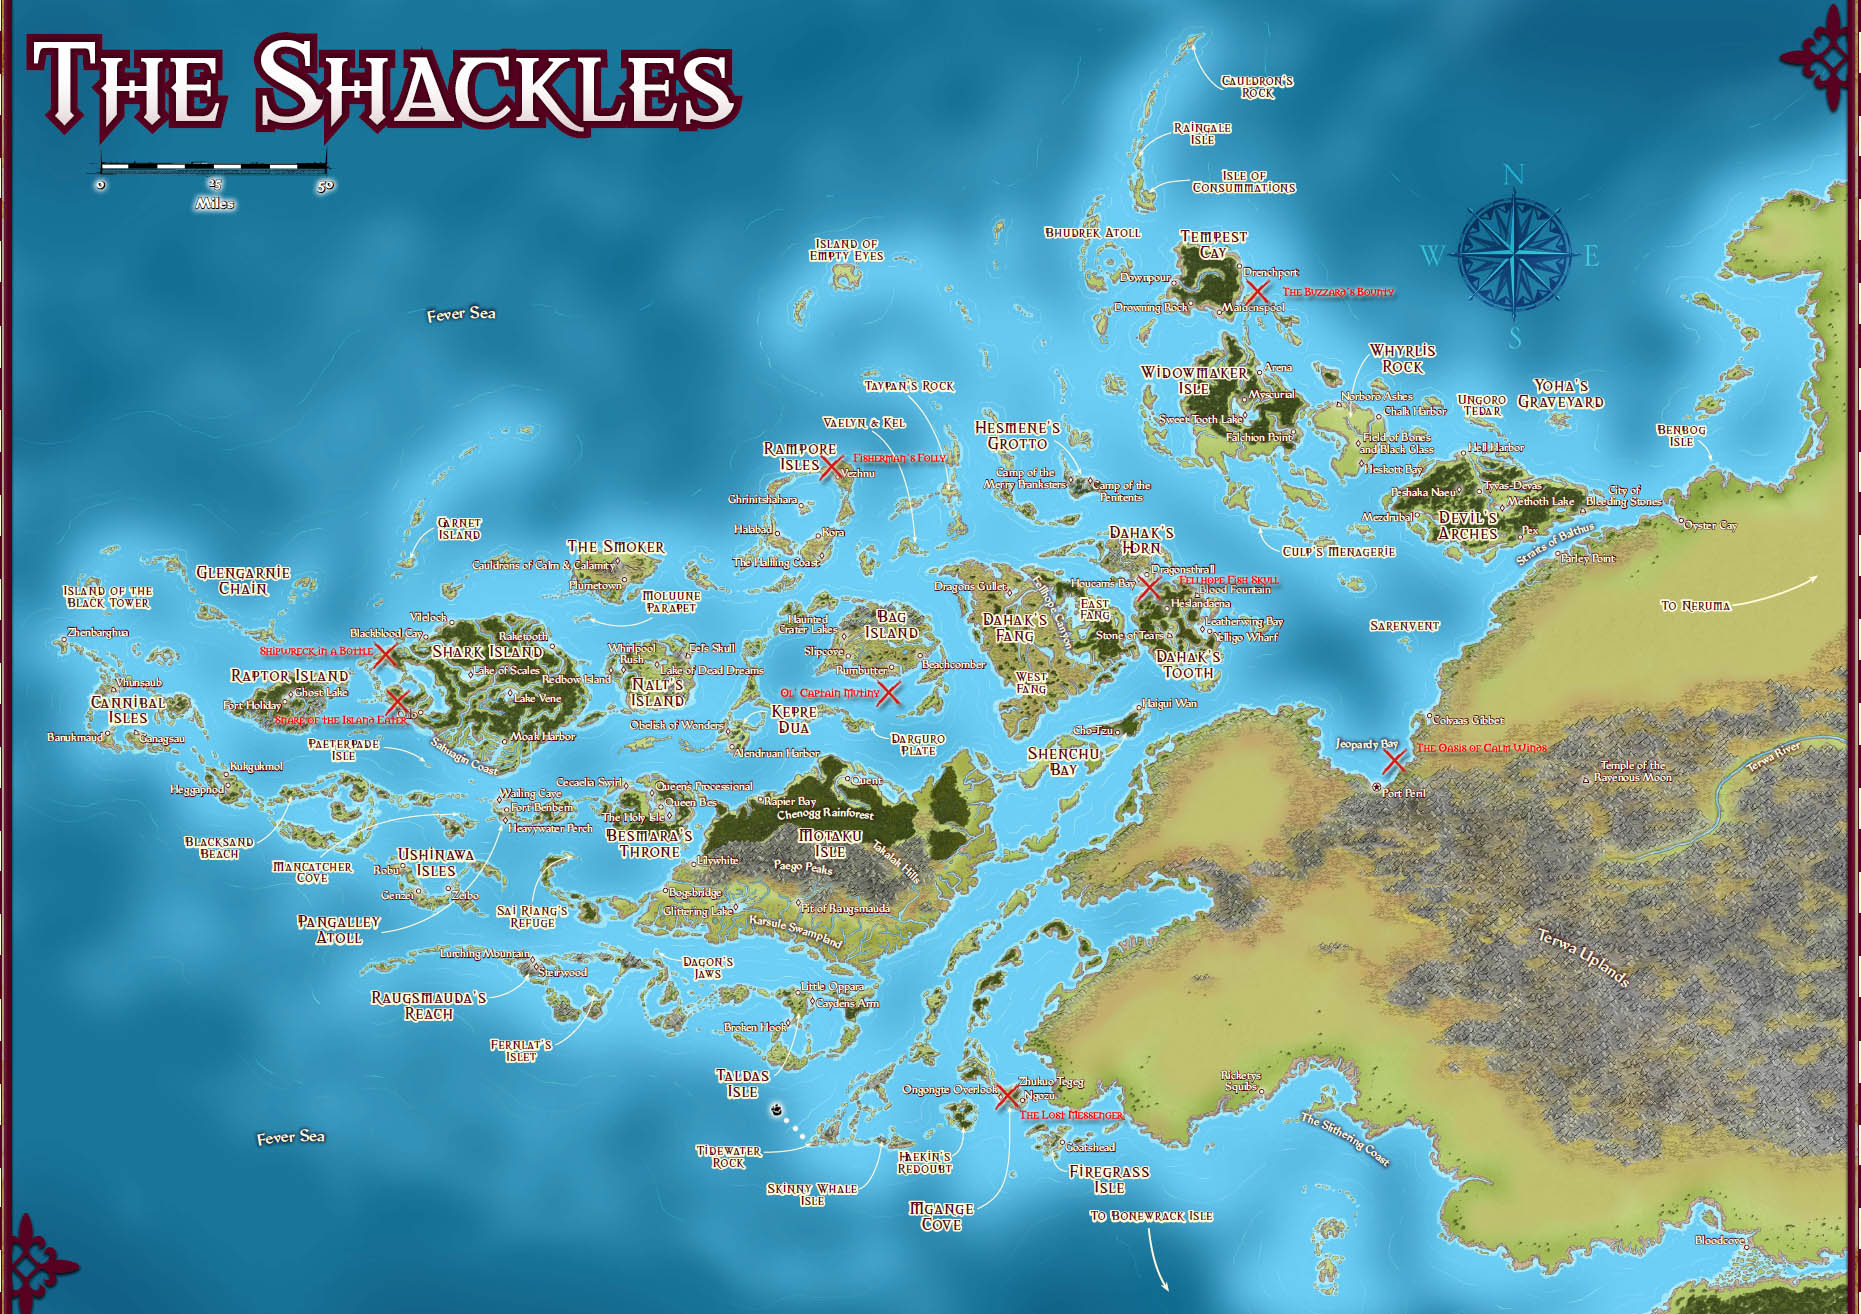
Large Shackle's Map
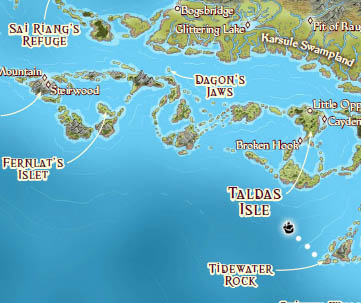
Zoomed in Sailing Map
"He that breaks a thing to find out what it is has left the path of wisdom." - Gandalf
J.R.R. Tolkien, Council of Elrond, The Fellowship of the Ring